How to Make A Cocoapod That Relies On Other Cocoapods

So if you’ve opened this article you’re likely trying to create a library for Cocoapods that uses other Cocoapods. It seems simple in principle, but there’s virtually no official way to do it. Only through scattered StackOverflow posts and Github issues was I actually able to figure it out.
Well no longer! This tutorial is intended to be a comprehensive tutorial on how to create a Cocoapod that uses other Cocoapods (as many as you’d like!)
Side Note: If you’d prefer to just look at working code, the finished product can be found on my Github
So first things first, you obviously need to install cocoapods. Open up your terminal (you’ll be using that a lot) and enter in the command below.
sudo gem install cocoapods
Note: If you get this error:
ERROR:  While executing gem ... (Gem::FilePermissionError)
    You don't have write permissions for the /usr/bin directory.
Try this instead:
sudo gem install cocoapods -n /usr/local/bin
If the above command is taking forever, run it with the --verbose flag. That way you can see what it’s getting hung up on.
sudo gem install cocoapods -n /usr/local/bin --verbose
Also note: depending on your computer’s processor / capability, all of the commands below will take seemingly forever. That’s why I recommend adding the --verbose flag to every command. (Personally, I’m using a 2011 Mac Mini, and every command takes at least half a minute. Yep. Slow torture ☹️)
Anyways, now that we have Cocoapods installed, it’s time to create the pod itself. We’ll use a command called pod lib create to setup the file structure of the library. Running this command also lets you configure many options. The command output below will tell you what to choose.
> pod lib create MyPodName

Cloning `https://github.com/CocoaPods/pod-template.git` into `MyPodName `.
Configuring MyPodName template.

------------------------------

To get you started we need to ask a few questions, this should only take a minute.

If this is your first time we recommend running through with the guide:
 - https://guides.cocoapods.org/making/using-pod-lib-create.html
 ( hold cmd and click links to open in a browser. )


What platform do you want to use?? [ iOS / macOS ]
 > iOS

What language do you want to use?? [ Swift / ObjC ]
 > Swift

Would you like to include a demo application with your library? [ Yes / No ]
 > Yes

Which testing frameworks will you use? [ Quick / None ]
 > None

Would you like to do view based testing? [ Yes / No ]
 > No
I don’t cover testing / view based testing in this tutorial, but that shouldn’t stop you from looking into it on your own. If there’s enough interest, I’ll put up a tutorial covering that as well!
Now that your project has been created, open up Example/MyPodName.xcworkspace (it should already have opened, but if it didn’t, open it now)
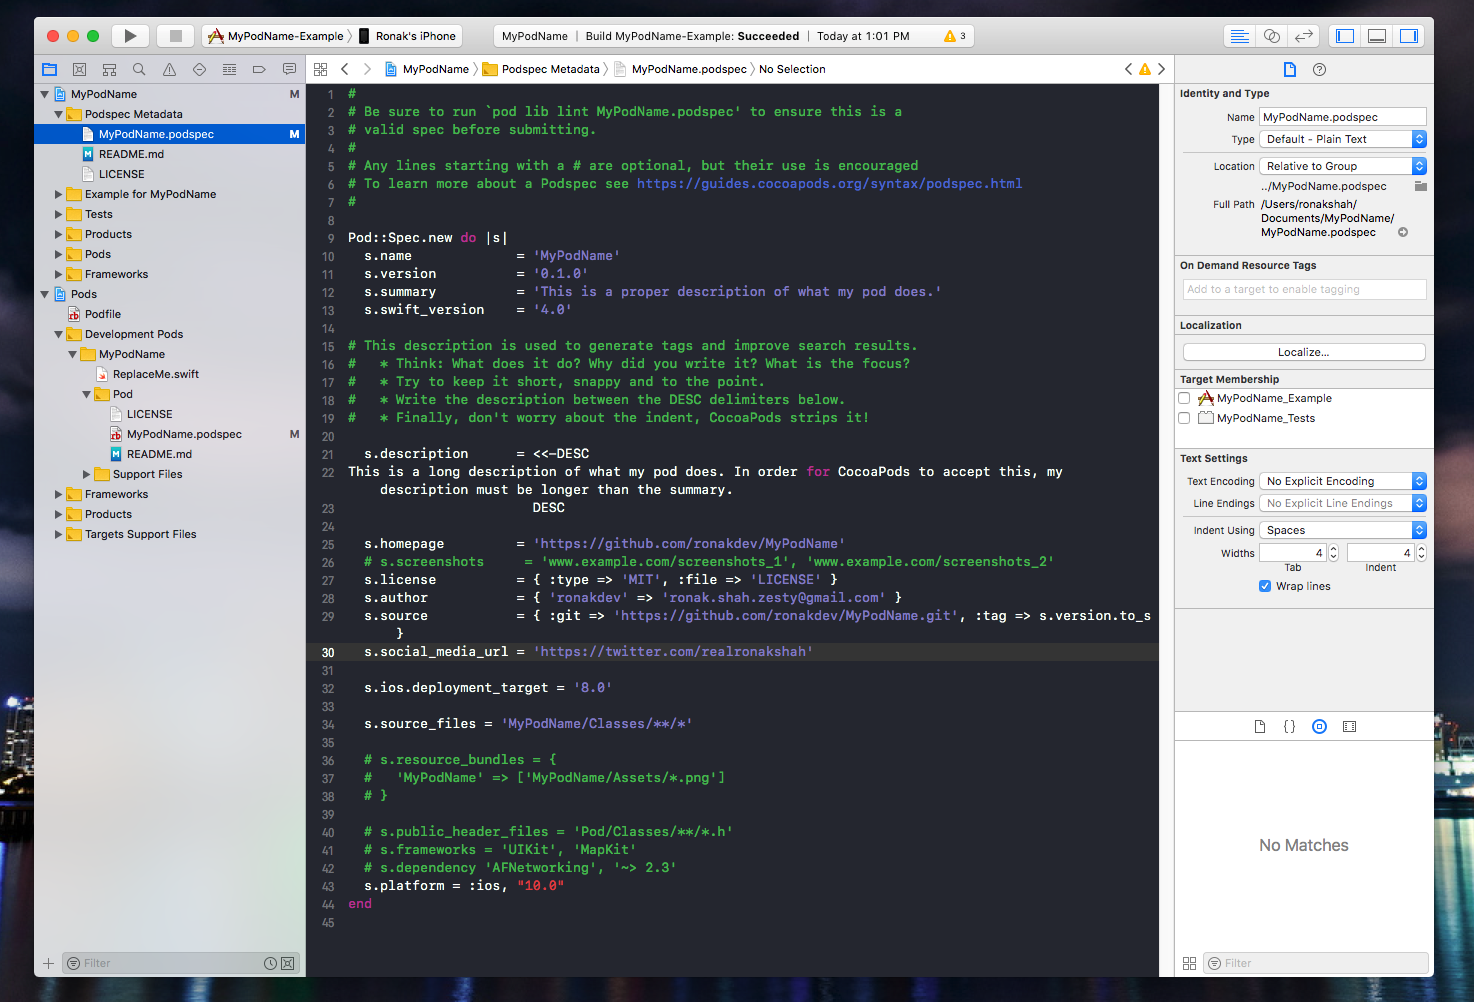
First, you’ll need to edit the MyPod.podspec file. This file contains the information needed to create your pod, so it’s pretty important.
You can go back and properly fill this file out later once you prepare to release it, but for now, make sure you make these key changes.
- Write a proper summary and description. Cocoapods will not give your pod the OK unless this is done.
- Add a property called
s.swift_versionand set it equal to the current version of swift (as of July 2018, that’s4.0) - Set the platform by writing
s.platform = :ios, "10.0"where 10.0 is the version you will support. Make sure that whatever version you include here is the same version as in theMyPodNameproject file in Xcode (and the testing project + Pods)
After this, build the project — you may need to add your developer id to sign the project. (You’ll see me ask you to build often. It’s not always related to what we’ve just done, but rather to solve any errors that may pop up. I’ve found that building often helps Xcode figure itself out better)
Then, find the file named ReplaceMe.swift (in Pods/Development Pods/MyPodName) and rename it to MyPodName.swift (This is the file where you’re going to put your code in)
If you weren’t going to have any dependencies, you’re finished! But, since we are, continue onward! (We need to set Xcode up to properly integrate everything together)
Make RemoveMe.swift look like this (basically just add a public class with an init function and a method)
(don’t worry, you can edit this later. This is just for setup)
import Foundation

public class MyPodName {
	var pointlessProperty: Any

    public init(pointlessParam: Any) {
        self.pointlessProperty = pointlessParam
    }

    public func temp() {
        print("this prints to the console so we can see if this is working!")
    }
}
After this, build the project.
Now, we’ll add some code to the Example Project to make sure our pod is working. In MyPodName/Example for MyPodName/ViewController.swift, create an object that uses MyPodName.
ViewController.swift
import UIKit
import MyPodName
class ViewController: UIViewController {
override func viewDidLoad() {
super.viewDidLoad()
let obj = MyPodName(pointlessParam: "doesn't really matter")
obj.temp()
}
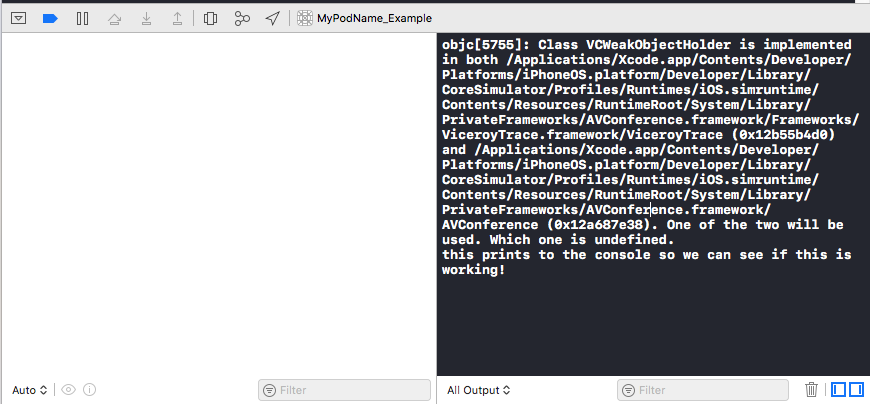
} Note: Sometimes the above code will fail, saying that you can't construct `MyPodName`. I've found that simply deleting and retyping the code will make it work. If you continue to have issues, leave a comment below!
Now, build and run the project in the simulator. You shouldn’t see anything on the screen, only a console message that says whatever you put in the temp function.
 Now, the project has been setup and factored properly, and it’s time to add our pods.
To add our dependent pods, we’ll need to add them to two files. It is imperative that you write the exact same version in both places. If you don’t, you’ll probably break your project.
I’ll be using Alamofire and SwiftyJSON in this example, but feel free to use any Cocoapod you want.
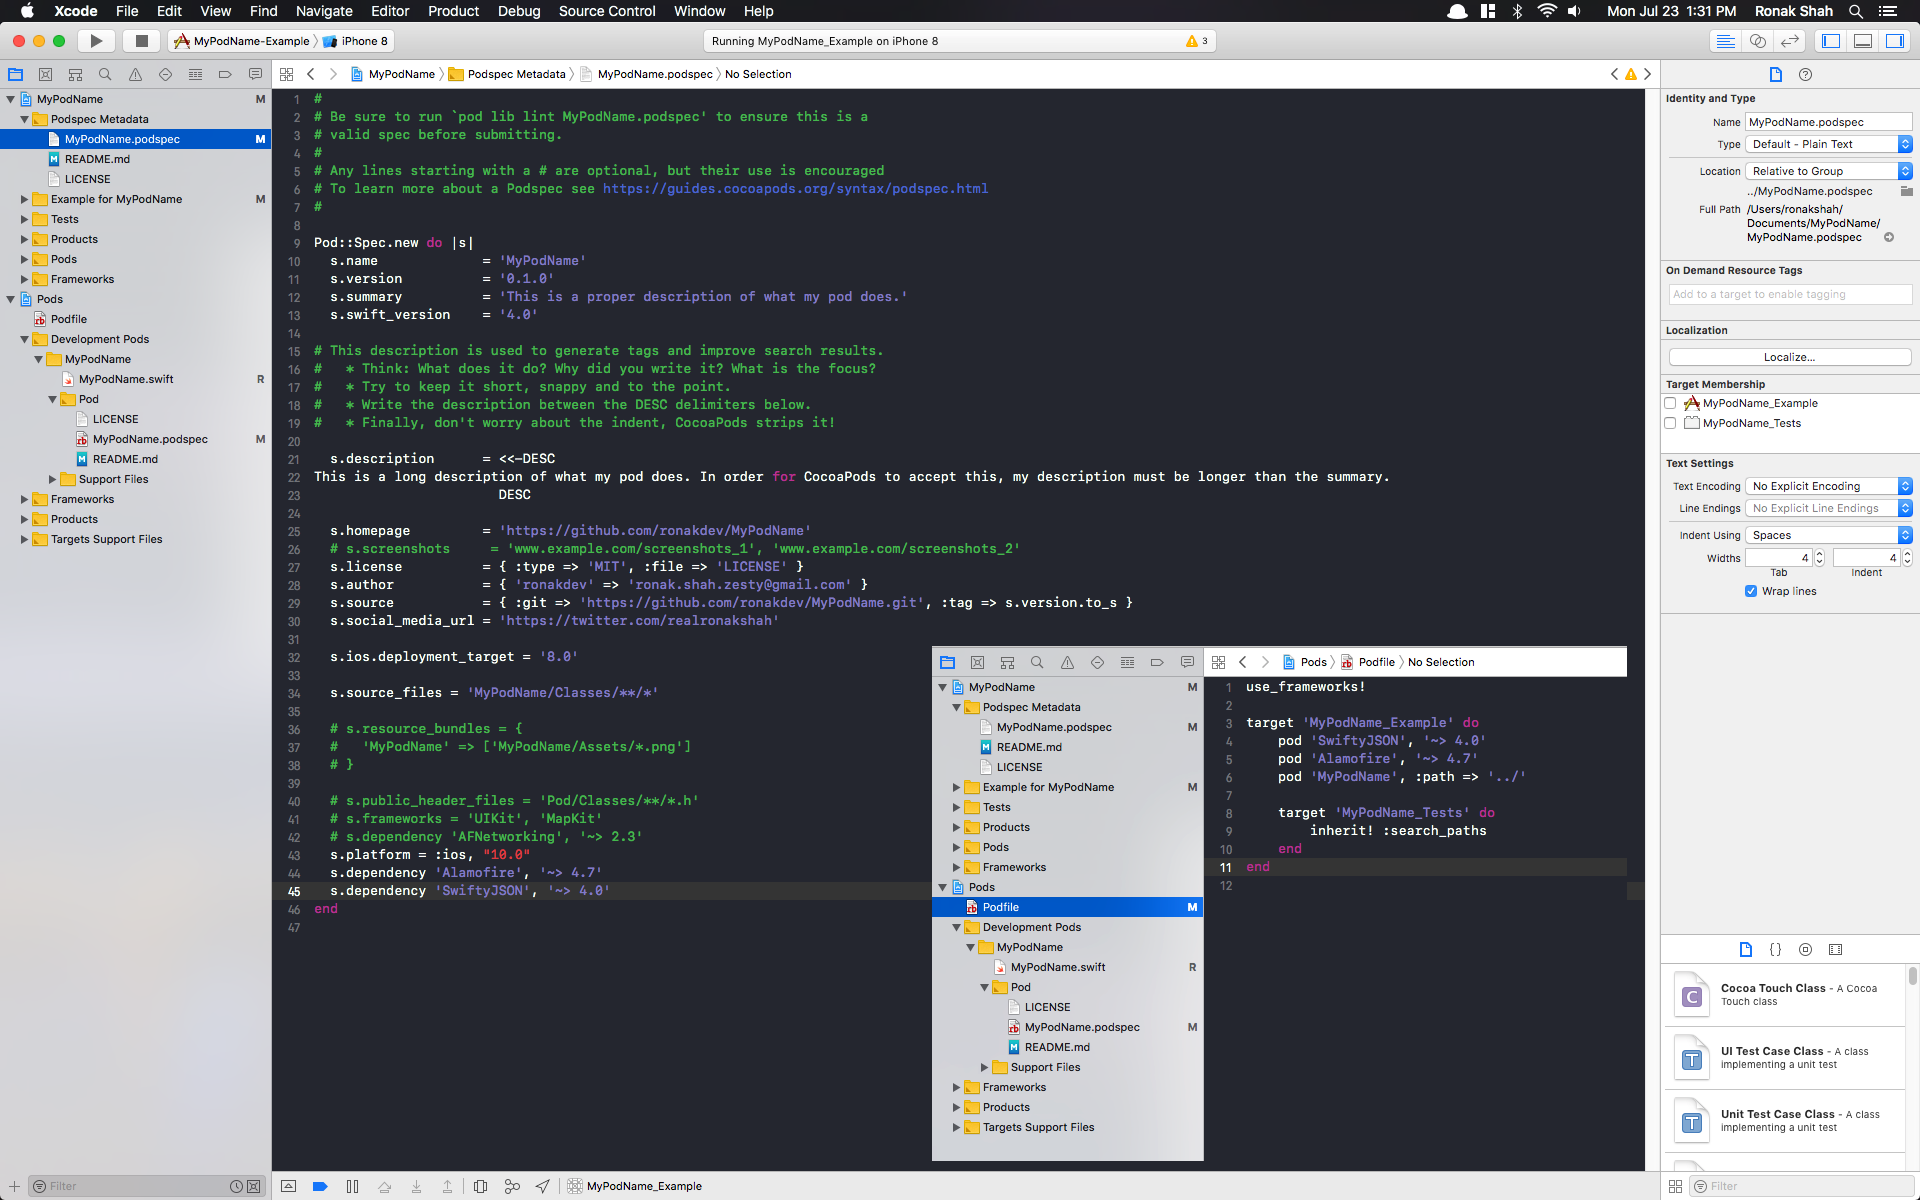
First, in MyPodName.podspec (MyPodName/Podspec Metadata or Pods/Development Pods/MyPodName/Pod)
s.dependency = 'Alamofire', '~> 4.7'
s.dependency = 'SwiftyJSON', '~> 4.0'
Second, in Podfile (Pods/Podfile)
  use_frameworks!

  target 'MyPodName_Example' do
    pod 'SwiftyJSON', '~> 4.0'
    pod 'Alamofire', '~> 4.7'
    pod 'MyPodName', :path => '../'

    target 'MyPodName_Tests' do
      inherit! :search_paths
    end
  end
Now, close your Xcode Project and go back to your terminal. Navigate to your Example Directory (MyPodName/Example), and run pod install --verbose (--verbose if you’d like, it’s just my personal preference)
cd Example/
pod install --verbose
Now, we’re almost done! Reopen your project (open Example/MyPodName.xcworkspace) and build!
We should now be able to import our dependencies in MyPodName.swift.
Congratulations! You can now write a library that depends on other libraries!
Take a look at the final product, if you’d like to compare :)
Credits
This tutorial was heavily inspired from this tutorial to create a regular Cocoapod and these StackOverflow Posts. (Yep, they are all separate links).
I learned how to create these types of pods as part of my work at Zesty.io.