The Complete Github Personal Website Guide
Hi everyone!
I’ve often been asked how I set up my personal website with email, a regular site, a resume hosting site, and a blog site for under $15 / a year, so this here is going to be an all in one guide of how to do it.
Table of Contents
- Final Product
- Initial Setup (Read this first)
- Setting up regular static site
- Setting up resume hosting site
- Linking with a custom domain
- Enabling Free SSL (https)
- Setting up email
Coming Soon!
Final Product
By the end of this post, you’ll have
- A personal website
- A personal resume site
Initial Setup
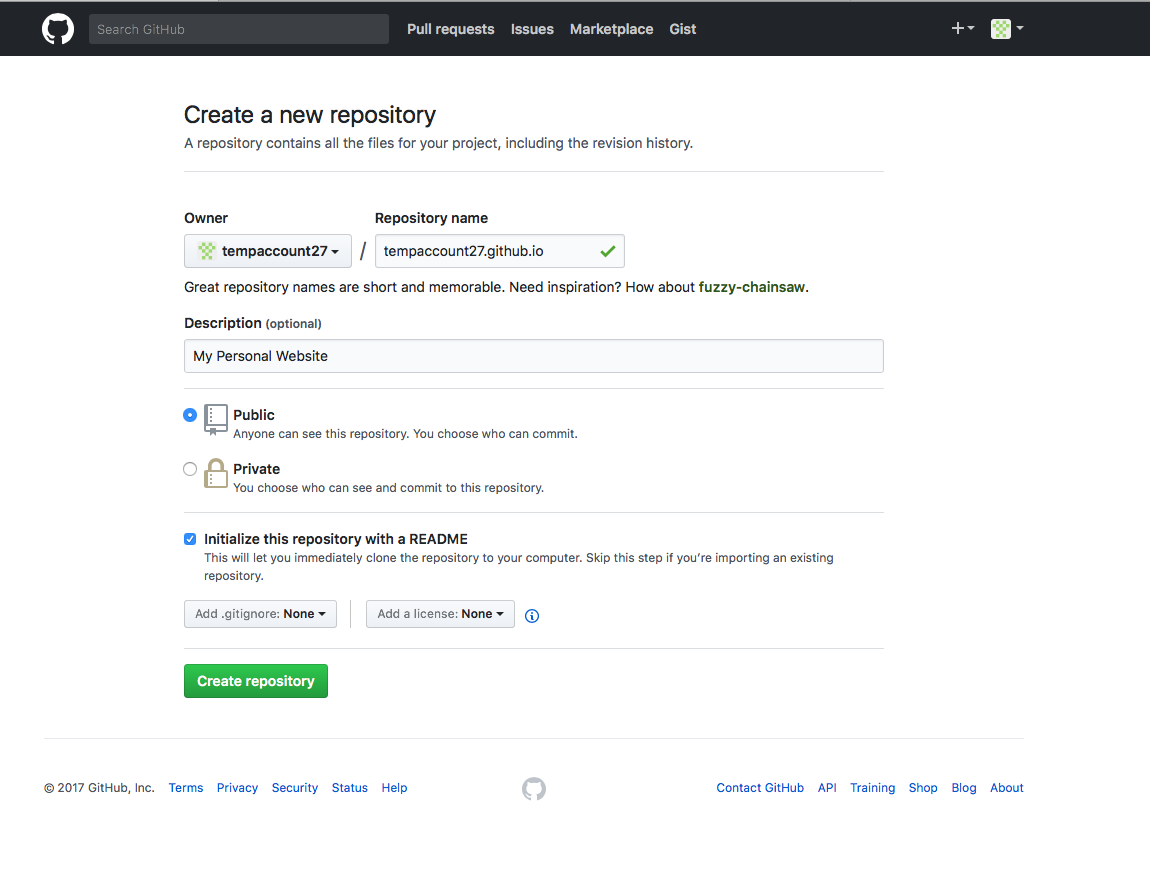
If you haven’t already, create a Github account and create a new repo
Call the repo username.github.io. This will allow us to have a base site. If you haven’t bought a custom domain, you’ll be using this as your official website.
Important: To follow along with this tutorial, initialize the repo with a README. If you’re comfortable with github, you can skip that step
Setting up a regular static site
Inside your username.github.io repository, add an index.html file. This can have anything on it.
If you just want something quick, download this file and just upload this to the site.
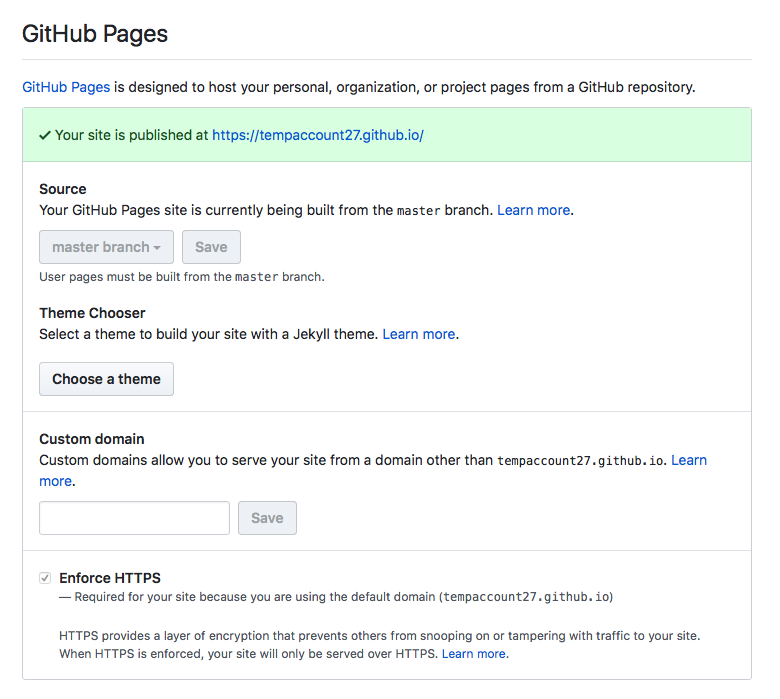
After this, we’ll go to our repo’s settings (github.com/username/username.github.io/settings)
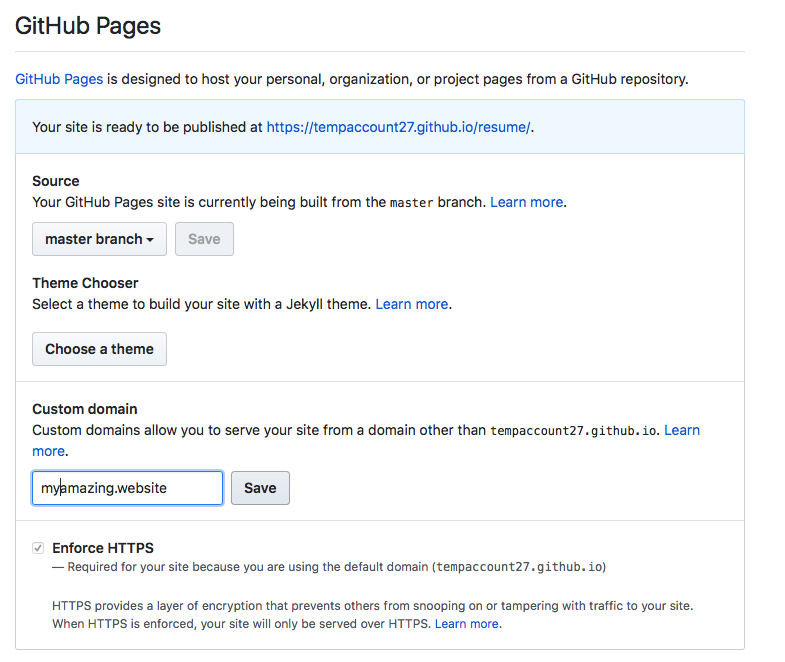
Make sure that your domain is being published
Creating a resume hosting site
To make a resume hosting aspect of your website, this is pretty simple.
We’ll start by creating a repo for the resume:
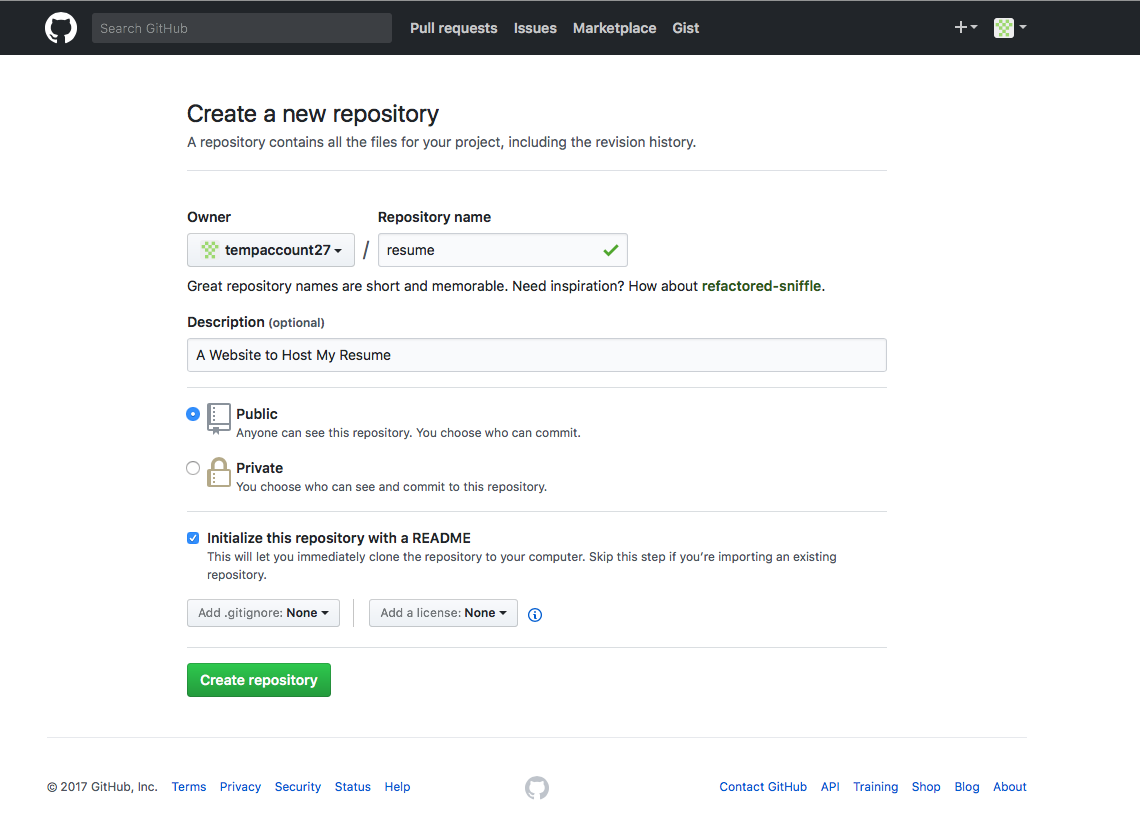 I’d just call the repo resume
First, we’ll need to upload our Resume PDF to the site
Now that we’ve done this, upload this html file so that visitors are automatically redirected to the pdf
After all of this, edit the settings and make sure that the Github Pages is being published
Boom! We now have our resume available at username.github.io/resume and our regular site available at username.github.io
Note: If your website isn’t loading, this may because Github Pages hasn’t loaded your website yet
To fix this, simply open the website in an incognito tab (or clear the cache). If the error persists, check your email for a build warning. Also feel free to comment below and I’ll try to help
Linking with a custom domain
By this point, we have a pretty cool site. However, what we need now to make it even more awesome is a custom domain name. If you don’t have one already, go to namecheap and buy one. (I’m not sponsored, I just love Namecheap. I’d love to be sponsored 😀).
After buying the domain, the first thing to do is set it up with dns. While you can use the built in dns management, I prefer using Cloudflare, since it also provides a free SSL Certificate. (Again, not sponsored, but I’d love to be 😀)
So head over to cloudflare, and after you’ve set it up, we’ll get to the next part.
If you skipped using clouflare, this is where you can being reading again
Setting up the dns
I’ll go over one way to set up the dns, but a much more comprehensive and better guide is available at Github Pages’ Help Page
- Add a CNAME file to your repo.
- go to your
username.github.iorepo, then go to settings, then find the section where it asks for a custom domain. Input your domain, and hit enter
- go to your
- Add the DNS
Simply add all the records listed below (replacing westviewnhs.com with your website’s name and wvnhs.github.io with username.github.io

Adding Free SSL (https)
This is the easiest with cloudflare.
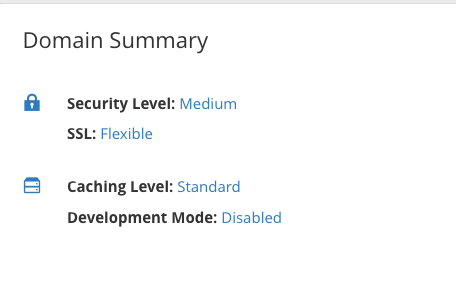
Simply go to cloudflare’s overview panel and choose SSL: Flexible
Setting up Email
When I first made my website, I saw many different email options to use, including Google Mail and Microsoft Outlook. Problem is, they all cost a lot extra. After doing some googling however, I found Zoho Mail, a free email option.
Starting the process
First, head on over to zoho.com
After signing up, choose the plan you want. While the paid plans are equally awesome, I (as a broke student), opted for the cheap one.
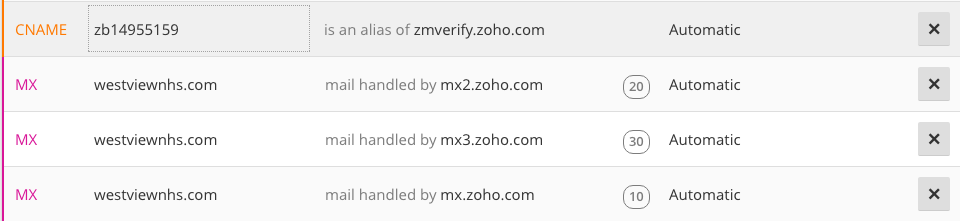
Now, we’ll need to setup the MX Records.
Essentially, the MX Records are how our website will communicate with zoho to send its mail there.
We’ll also need to verify our domain, I honestly think using a TXT Record is the easiest process.
Below are my DNS Records
If my explanation of Zoho Mail wasn’t the greatest (I didn’t have a spare domain to redo this with), I’d suggest watching this video, it goes over everything.
If this was helpful, please leave a comment below or follow my Github
I’ve also included affiliate links, so if you use this link for namecheap, I’ll earn some money on the side. In addition, if you use this link, you’ll help me get more email addresses for my website for San Diego Code, a nonprofit in San Diego.